Introdução
Se o seu e-commerce utiliza a plataforma Shopify, esse artigo lhe ensinará como configurar o Google Analytics, e mais especificamente o comércio eletrônico.
Veja o passo a passo a seguir.
Qual a importância de configurar o Comércio Eletrônico?
A correta Habilitação do comércio eletrônico, possibilitará o acompanhamento de diversas métricas relacionadas às vendas dos produtos em seu e-commerce, como transações, receita total, receita por produto, preço médio das vendas, produtos mais vendidos, comportamento de compra, etc.
Possibilitando, assim, uma análise muito mais profunda e completa, além de uma gestão mais eficiente. Em suma, possibilitará a visualização do desempenho das vendas de sua loja virtual. Sem isso, a gestão de uma conta ficaria seriamente comprometida ☹
Configurando o Google Analytics
Siga estas etapas para configurar o Google Analytics em sua loja virtual da Shopify:
- Confirme que o Google Analytics ainda não está ativado.
- Faça login em uma conta do Google.
- Ative o Google Analytics.
- Ative o acompanhamento de comércio eletrônico.
Etapa 1/4: Confirmar que o Google Analytics ainda não está ativado
Essa etapa parece ser simples, mas é extremamente importante, pois ativar o Google Analytics mais de uma vez resultará em dados imprecisos. Se você tiver certeza de que nunca ativou o Google Analytics para sua loja antes, pule para a Etapa 2. Se não, siga estas etapas:
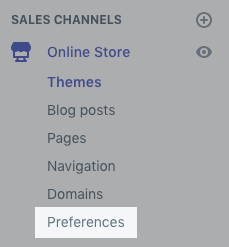
- No seu admin da Shopify, vá para Loja virtual> Preferências
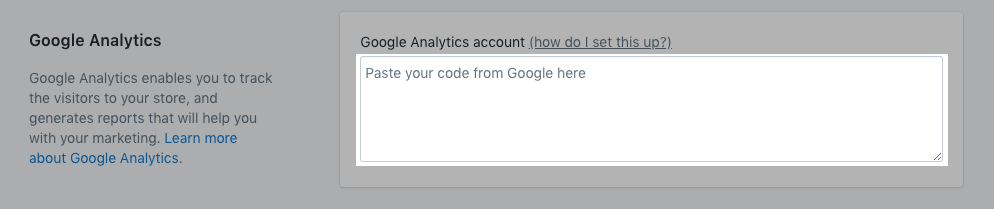
2. Na seção Google Analytics, confirme que a caixa tem apenas o texto Cole seu código do Google aqui ou que esteja vazia:
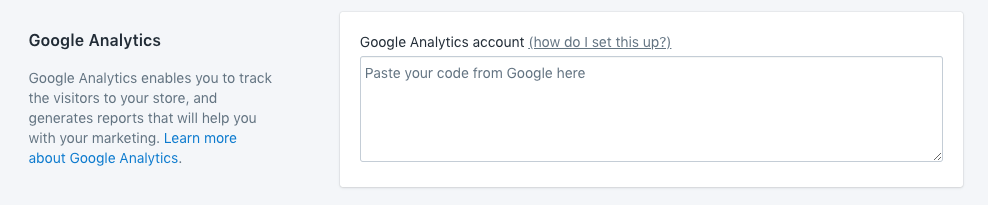 Se você vir isso, passe para a próxima etapa. Porém, se você vir um código que começa com UA-, significa que já tem o Google Analytics ativado e pode pular para a Etapa 4.
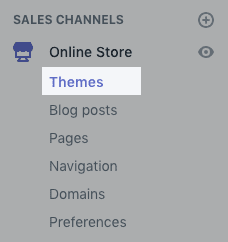
3. Clique em Temas:
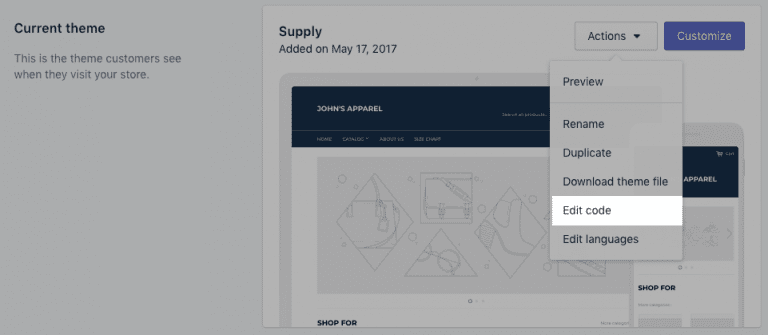
4. Clique em Ações> Editar código:
5. Na seção Layout, clique em {/} theme.liquid:
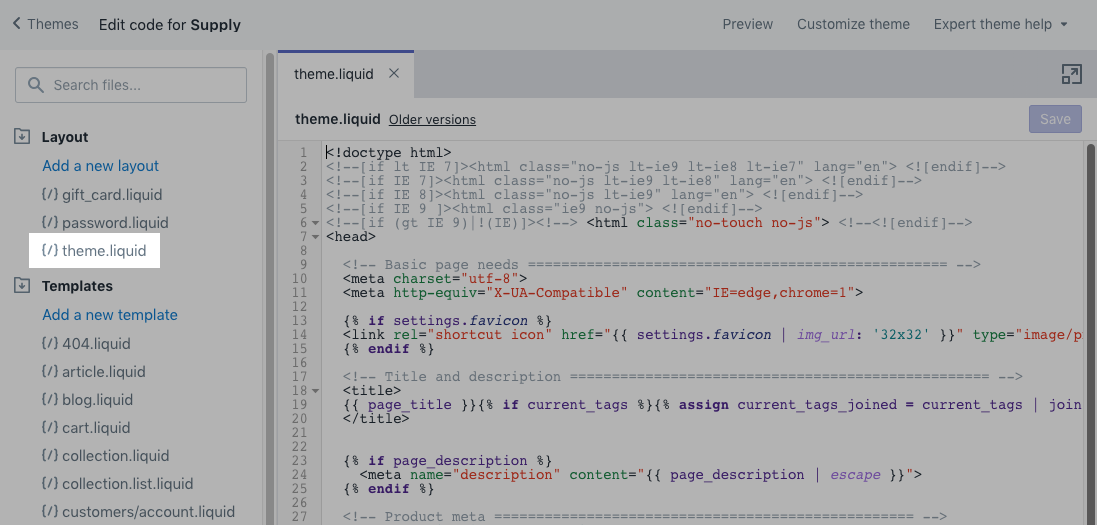 6. No arquivoliquid, procure qualquer uma das seguintes tags de acompanhamento do Google Analytics: ga.js, dc.js, gtag.jsou analytics.js. Se você vir alguma dessas tags no seu arquivo theme.liquid, significa que já tem o Google Analytics ativado e pode pular para a Etapa 4.
Se você não vir um código de acompanhamento na seção Google Analytics da sua página Configurações e não houver uma tag de acompanhamento do Google Analytics em seu arquivo theme.liquid, significa que o Google Analytics não está ativado em sua loja. Prossiga à Etapa 2.
Etapa 2/4: Obter uma conta do Google
Você precisa ter uma conta do Google para usar o Google Analytics. Se você já utiliza os produtos do Google, como Gmail ou Ads, pode usar a mesma conta para o Google Analytics. Se você ainda não tiver uma conta de um produto do Google, crie uma conta do Google. Você precisará da conta do Gmail apenas para entrar e sair do Google Analytics. Depois de criar uma conta do Google, prossiga à Etapa 3.
Etapa 3/4: ativar o Google Analytics
As etapas para ativar o Google Analytics serão diferentes se você já tiver usado sua conta do Google para configurar o Google Analytics antes. Caso nunca tenha configurado o Google Analytics com essa conta do Google antes, você precisará criar uma conta. Para isso siga as instruções contidas neste Link: Como criar uma conta no Google Analytics e crie sua conta.
Se já tiver usado o Google Analytics com essa conta do Google antes (ou acabou de criar sua conta), basta seguir as etapas a seguir.
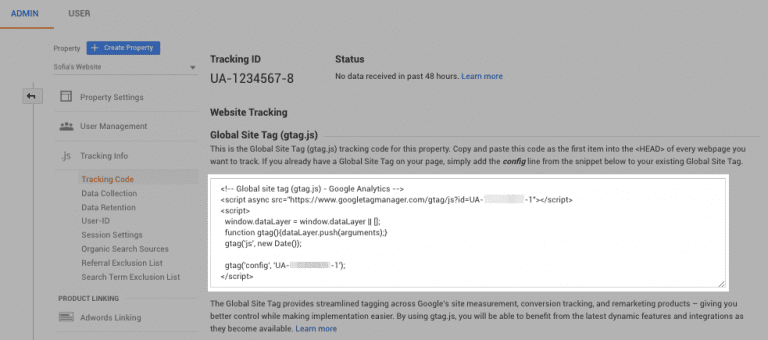
- Abra o Google Analytics, clique em “Administrador” no canto inferior esquerdo. Clique em “Informações de Acompanhamento” -> “Coleta de Dados”. A única informação que você precisa é da Tag global do site. Copie a tag global do site para sua área de transferência, destacando-a e pressionando ctrl+Cno PC ou command+C no Mac:
- Em uma nova guia do navegador, abra seu admin da Shopify.
- Vá para Loja virtual> Preferências.
- Na seção do Google Analytics, cole a tag global do site no campo Conta do Google Analytics:
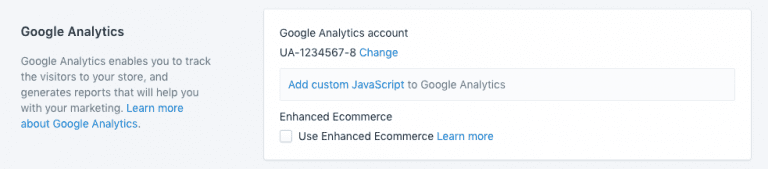
Você saberá que o Google Analytics está ativado em sua loja virtual quando vir um código que começa com UA- no cabeçalho da conta do Google Analytics, assim:
Observação: O Google Analytics só poderá rastrear os visitantes depois que você remover a proteção de senha da sua loja virtual. Para isso basta realizar os seguintes passos:
- No seu admin da Shopify, acesse Loja virtual > Preferências.
- Na seção Página de senha, desmarque a opção Habilitar página de senha.
- Clique em Salvar.
Após ativar o Google Analytics em sua loja, prossiga à Etapa 4.
Etapa 4/4: Ativar o acompanhamento de Comércio Eletrônico
Você pode implementar o acompanhamento de comércio eletrônico do Google com dois níveis de detalhe diferentes:
A) Acompanhamento de comércio eletrônico básico, se você quiser apenas dados de transações e receita.
B) Acompanhamento de comércio eletrônico avançado, se quiser informações adicionais sobre o comportamento dos visitantes.
A) Ativar o acompanhamento de Comércio Eletrônico Básico:
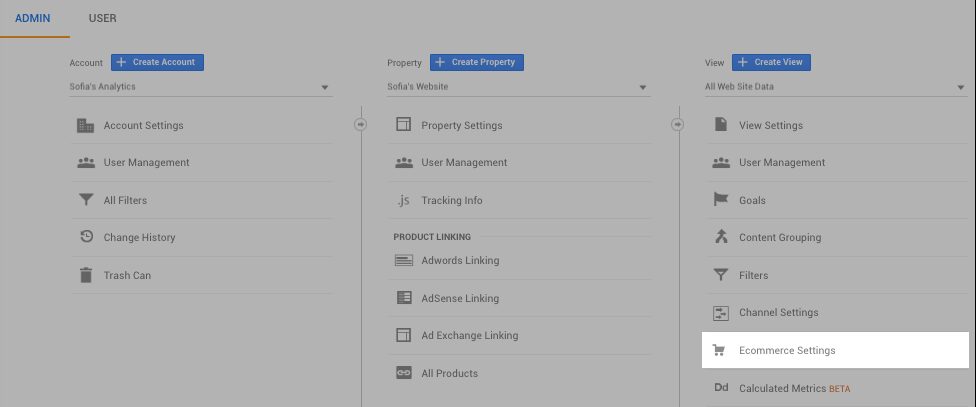
- Na sua conta do Google Analytics, clique em ADMINISTRADOR:
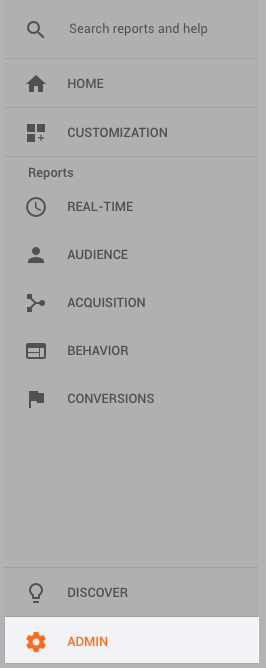
2. No menu Vista, clique em Configurações de comércio eletrônico.
3. Clique no botão Ativar comércio eletrônico para mudar a opção de DESATIVADO para ATIVADO.

- Clique em Salvar.
Se você precisar de informações de acompanhamento mais detalhadas, poderá ativar o acompanhamento de comércio eletrônico avançado.
B) Ativar o acompanhamento de Comércio Eletrônico Avançado
- Abra seu admin da Shopify.
- Vá para Loja virtual> Preferências.
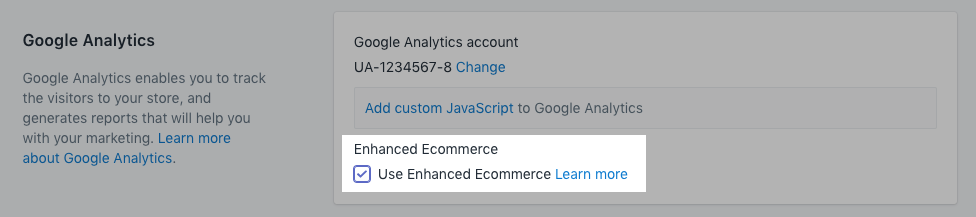
- Na seção Google Analytics, clique na caixa de seleção “Usar comércio eletrônico avançado”:
4. Se você estiver usando uma versão antiga do Google Analytics, talvez precise clicar primeiro em Atualizar para a versão mais recentepara poder clicar na caixa de seleção Usar comércio eletrônico avançado:
5. Clique em Salvar.
6. Na sua conta do Google Analytics, clique em ADMINISTRADOR.
7. No menu Vista, clique em Configurações de comércio eletrônico.
8. Clique no botão Ativar relatório de comércio eletrônico avançado para mudar a opção de DESATIVADO para ATIVADO.
9. Clique em Salvar.
Fonte:
Central de ajuda da Shopify: Configurar o Google Analytics.