One of the most important platforms in the digital environment is Google Analytics Universal, which has been used by every marketer for years.
From it, we are able to collect access data, behavior and navigation on websites and applications, through tracking codes.
Some important metrics to be monitored by Google Analytics are:
- Traffic Source;
- Most accessed pages and number of sessions;
- Average session duration;
- Number of pages per session;
- Bounce rate;
- Conversion target.
In order for Google Analytics to work perfectly, you just need to make a few code settings, which this tutorial will enable you to do.
In this tutorial, we will use Google Tag Manager to install the Google Analytics code.
This Google tag management tool allows you to configure and implement tags instantly on your website or mobile app, using an easy-to-use web-based interface.
With Google Tag Manager, you can insert any code into the site, so it's the first and only installation you'll need to make in the source code of my site.
How to Install Page View in Google Analytics Universal via GTM
Follow the tutorial with images of the platform to install the page without making any mistakes.
1. Make Sure You Have Google Tag Manager Installed on Your Site
If you don't have an account yet, you can create one here at this link.
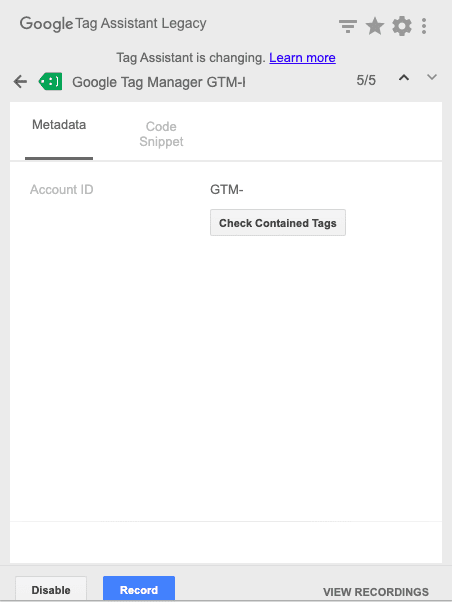
To check if GTM is already installed on your site, simply install the Google extension called Google Tag Assistant and when you open the site, check if it has your GTM ID in it.
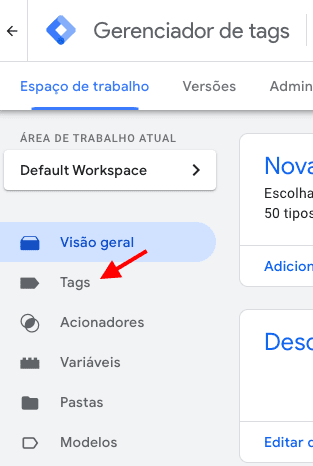
2. Go to GTM and click on Tags
Once you have confirmed that Google Tag Manager is installed, you can now proceed with the installation of Google Analytics.
To do this, open your container in GTM and click on Tags.
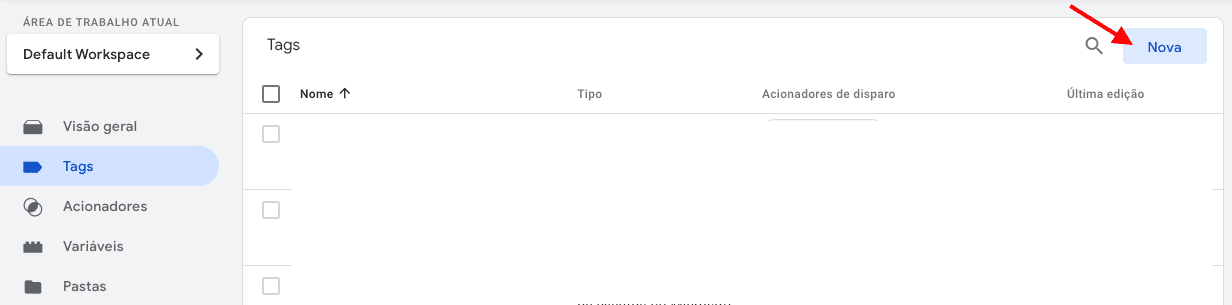
Then click on "New".
3. Configure your tag
When you open your tag configuration, click on "Tag Configuration" and then select the type of tag you need.
In our case, we will select the Google Analytics tag: "Universal Analytics".

4. Select the Follow-up Type and Enter the Code
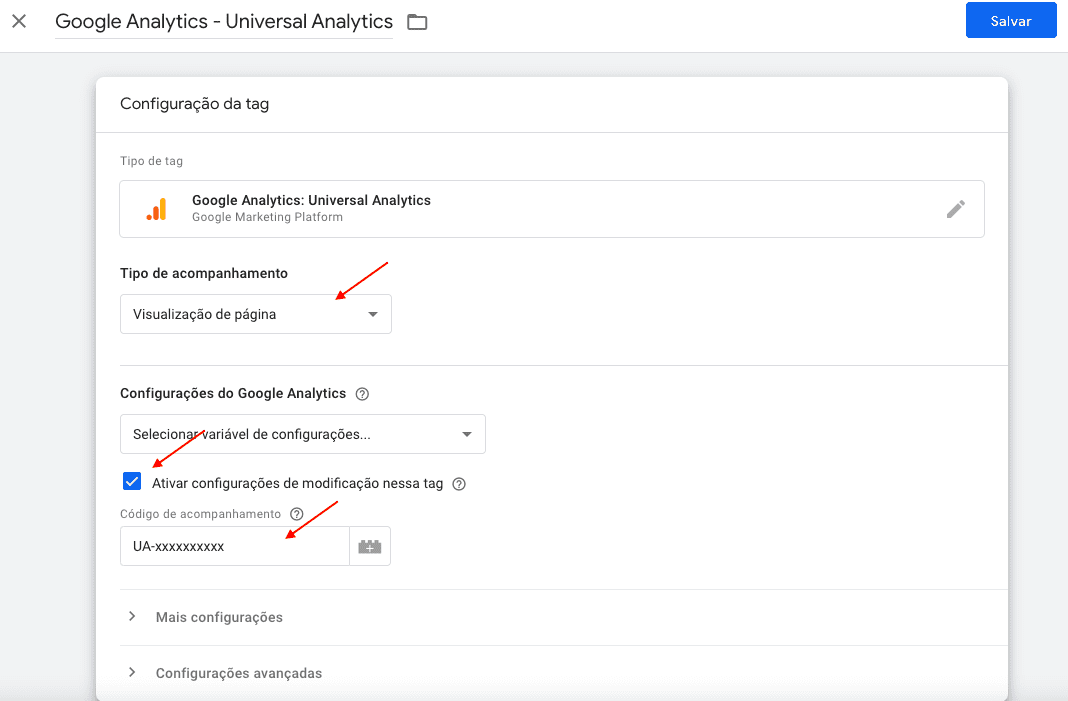
From the printout, you can see that GTM already has several ready-made tag templates, which makes installation very simple.
When you open the Google Analytics Tag template, you will need to choose the type of tracking as "Page View".
Then simply select the "Enable" modification settings check on this tag to insert your Universal Analytics code, as shown in the following screenshot.
5. Choose the Tag Trigger
After that, you'll need to choose the tag's trigger, i.e. where you want it to fire on the site.
As this tag is a "base tag" and needs to be installed on all pages of the site, simply select the "All Pages" trigger in Google Tag Manager.
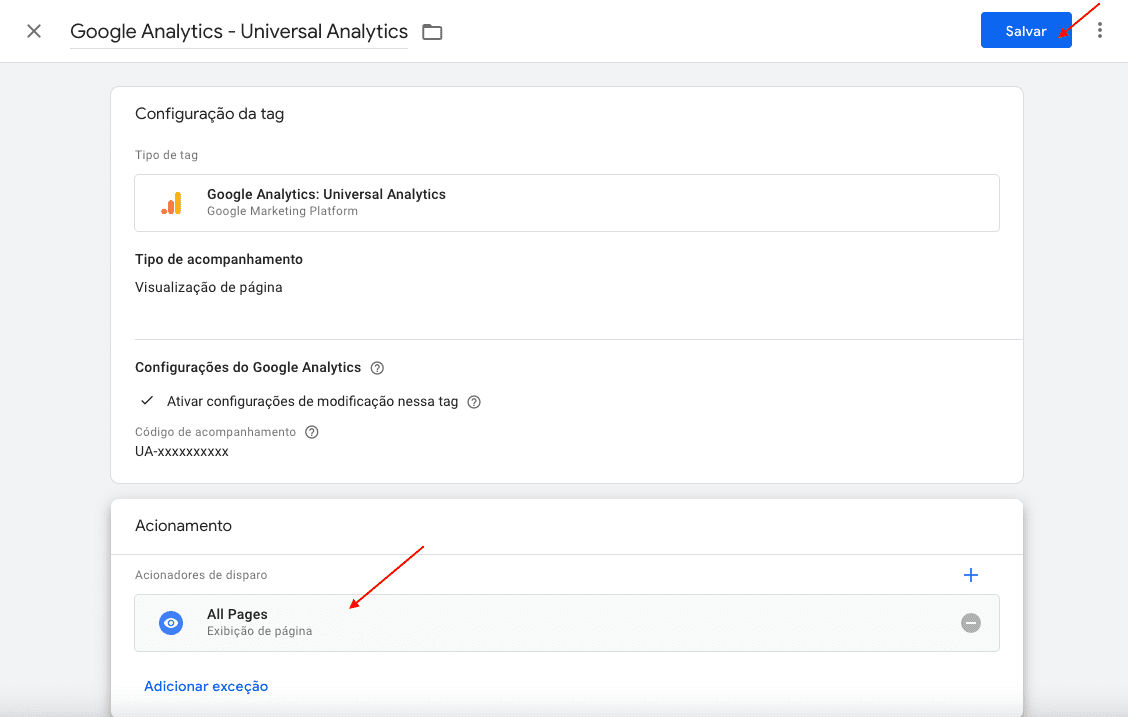 Finally, click on "Save" and that's it, your tag has been created!
6. Publish the GTM Container
Now, in order for the tag to be configured in real mode on your site, you need to publish the GTM container as follows.
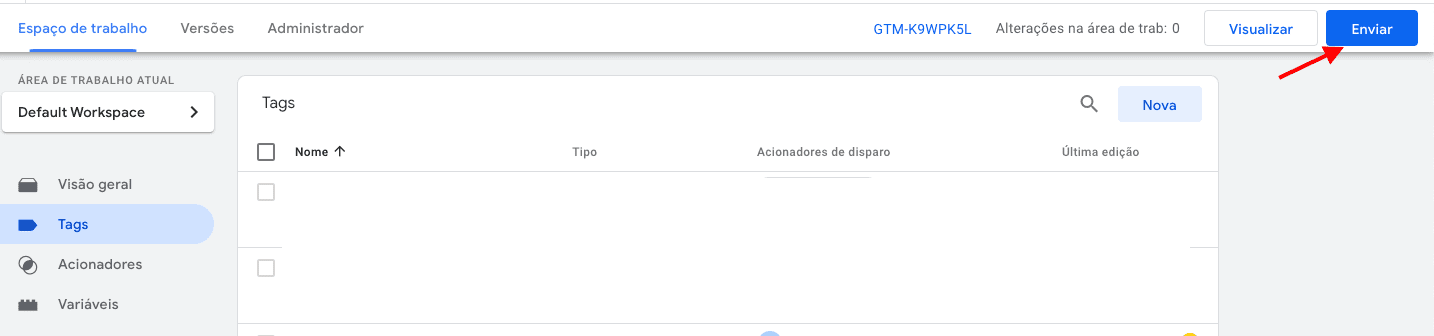
When you return to the Tags view, click on the "Send" button in the top right-hand corner of the page.
Then click on "Publish".
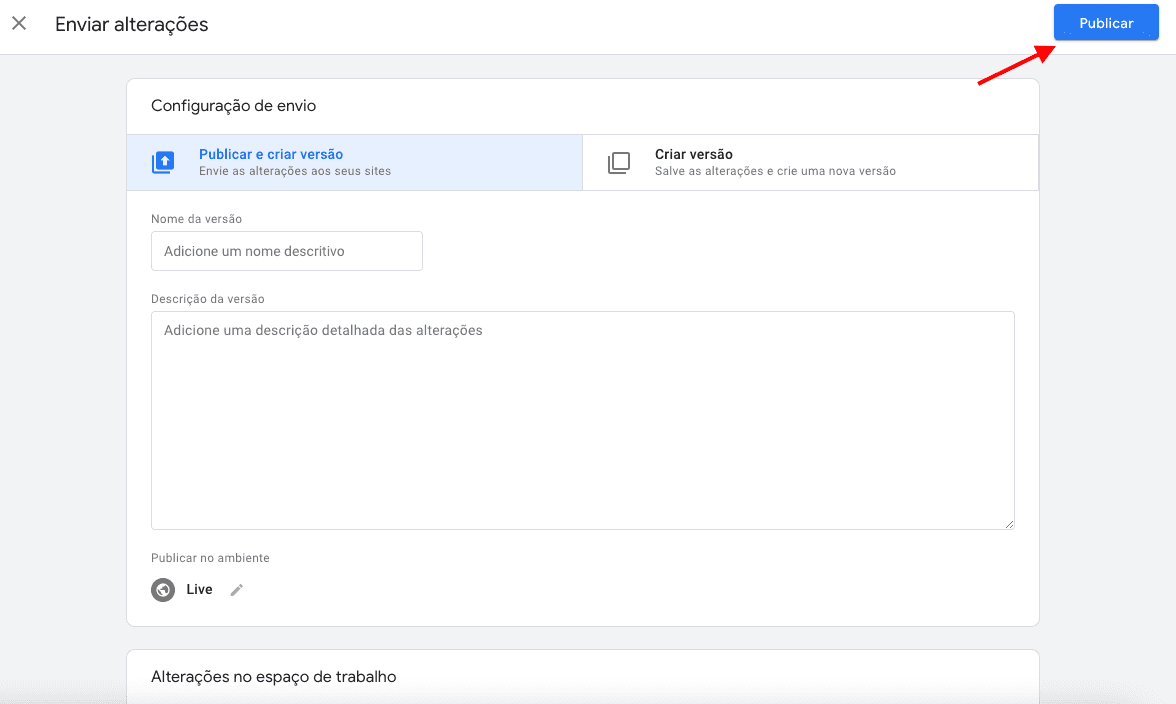
That's it! Now your Google Analytics tag is tracking your entire site and you can check it in Google Analytics in real time.
Now that you know how to install Google Analytics correctly, you can gain valuable insights to make your decisions more strategic.
To delve deeper into the subject, see this other article and understand the Discrepancy Between Facebook Sales and Google Analytics.