

Shopify is an e-commerce platform that develops solutions for your online store. The platform develops computer software for online stores and point-of-sale retail systems.
In this article, you'll learn how to create dynamic ads through Facebook's Business Manager, obtaining the XML feed of products through Shopify.
Product Catalog on Facebook
The product catalog that is created when a merchant uses the Facebook sales channel is the property of Shopify. As such, it is not designed to be used for creating dynamic ads.
Because of this, merchants need to create their own separate product catalog using the Flexifyapp, which creates a separate catalog.
Another option would be to use the FB Marketing appwithin the Shopify admin panel.
So basically you have 2 options.
Option 1 - Shopify app (like Flexify)
It is possible to use an app to create another catalog that is not owned by Shopify. Since we cannot change the ownership of this catalog.
So, with a catalog created by the "outsourced" app, you can create dynamic ads externally, through Facebook's Business Manager. In this way, Shopify doesn't have much involvement in the process.
If you choose to use the Flexify to create the catalog, you can find it at this link.
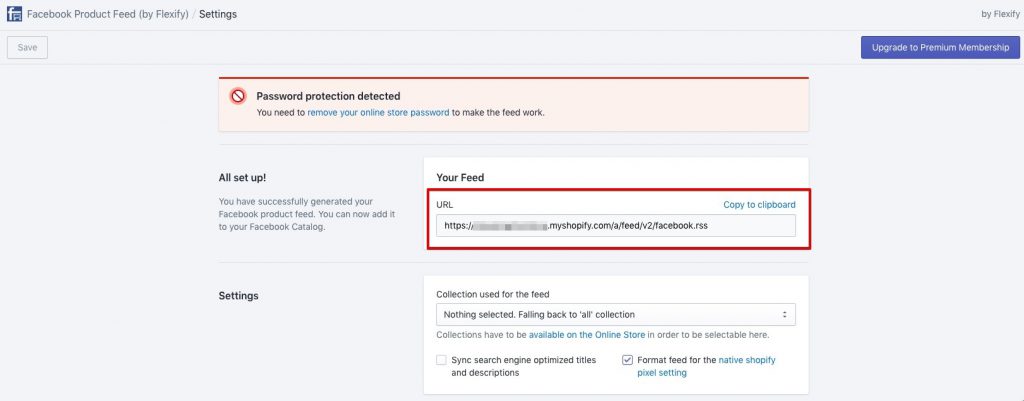
This way, you'll get the URL of the product feed through this application. Below is an example showing the URL in the Flexify app's internal panel:

Follow the steps below.
Step 1/8
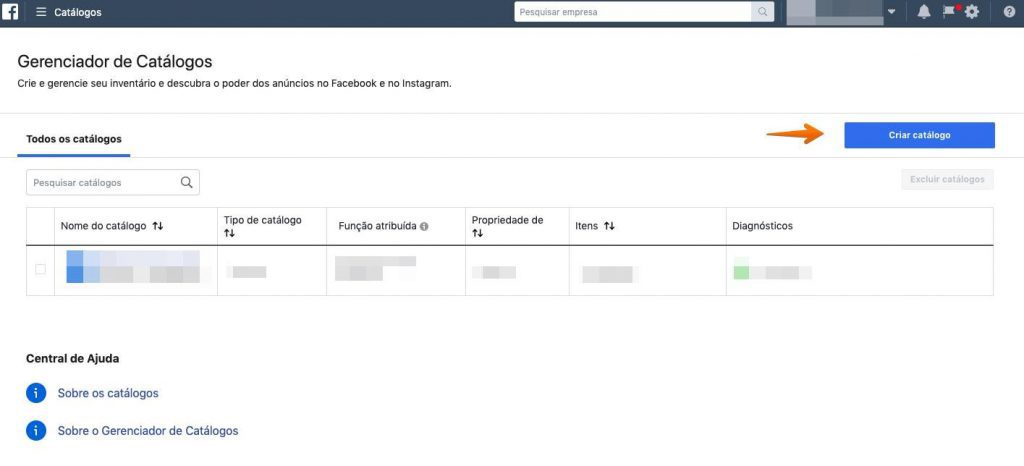
Copy the URL and then open your Facebook Business Manager account and click on Assets > Catalogs:


Step 2/8
Click on create Catalog:

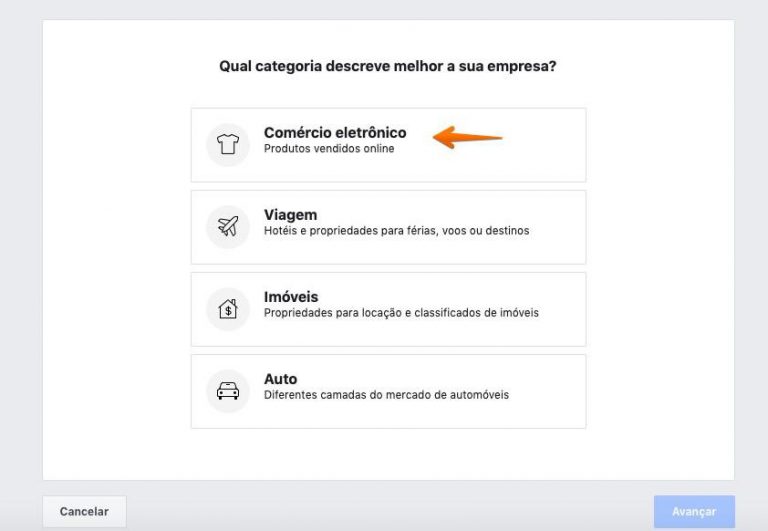
Step 3/8
Select a category such as "E-commerce" > "Next":

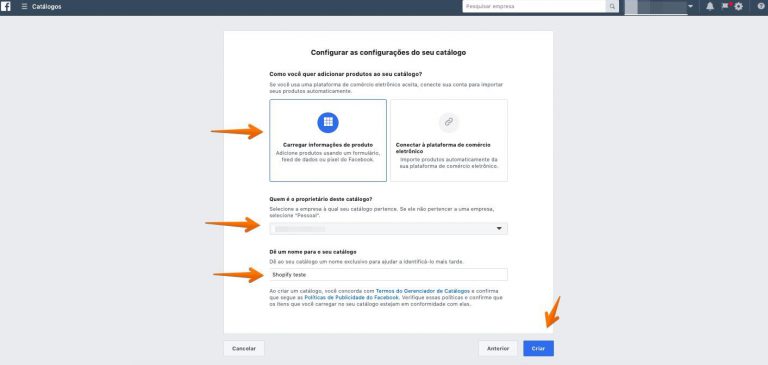
Step 4/8
Select "Upload product information" and select your company as the owner of the catalog:

Step 5/8
View the newly created catalog and then click on product data source> add products> select 'use data feeds':

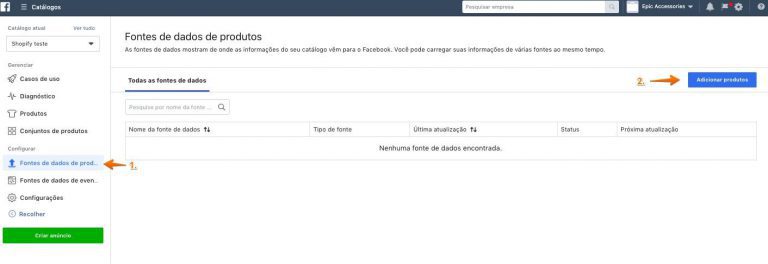

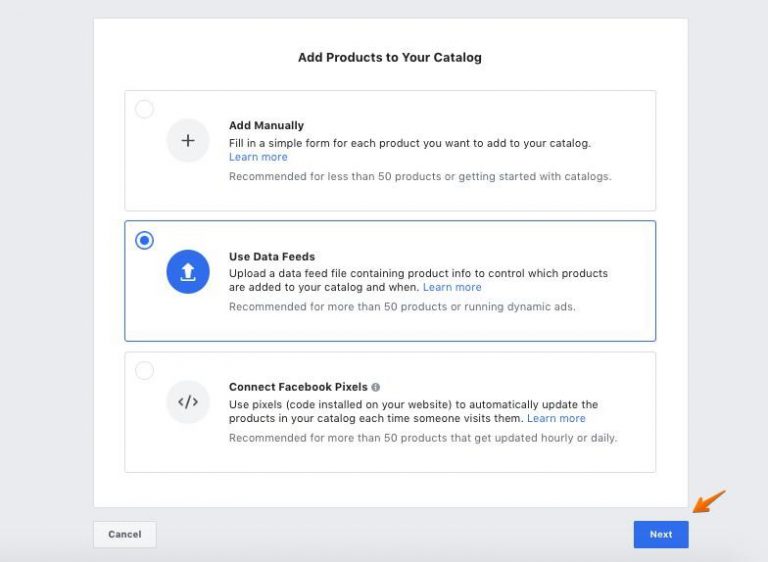
Step 6/8
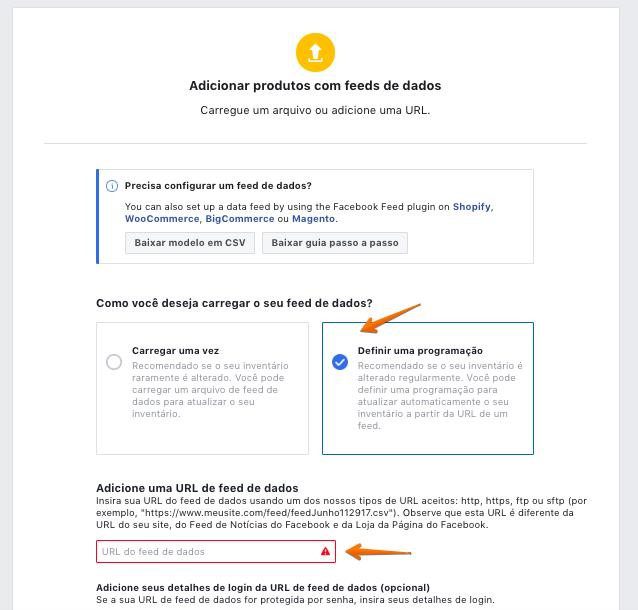
Select "Define a Schedule" and paste the URL of the feed provided by Flexify:
Step 7/8

You can then connect your Facebook pixel to your catalog by going to "Event Data Sources" > "Connect Tracking":
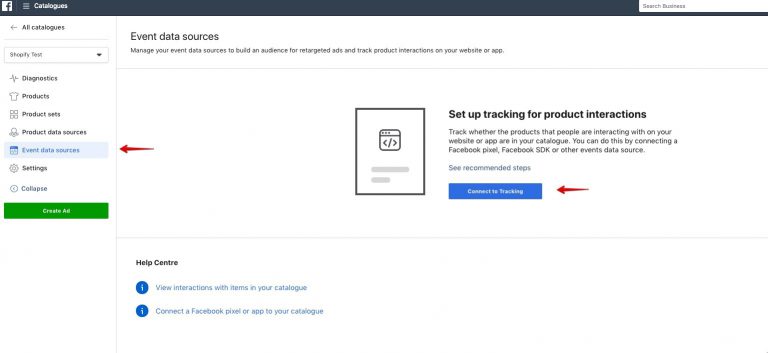

Step 8/8
Next, select your pixel ID from the list of available pixels (making sure it matches the one added in the online store > preferences in your Shopify account). Then click on "Done" ("Done"):


After the above steps, the catalog can be used to create dynamic ads!
Option 2 - Facebook Marketing App
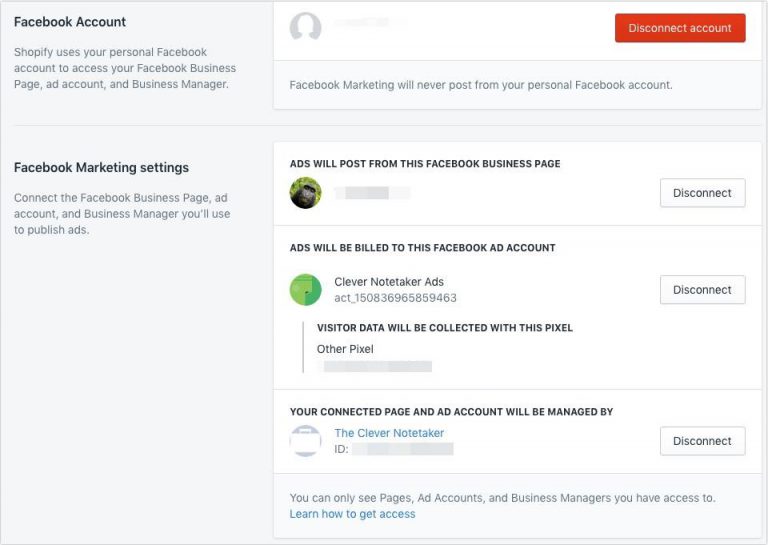
Another option is to use the FB Marketing app in the Shopify admin panel. From the settings made through it, you will connect:
- The Page
- TheAds Account
- The Pixel
- The Business Manager
Everything is done on the page shown below:

If everything is set up, you will see a message to synchronize the products again. Just press the button and wait for all the products in your online store to be synchronized.
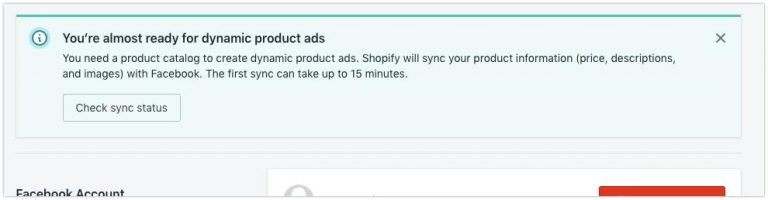

Once this synchronization is complete, the "Create campaign" button will be enabled in blue.


You can now run dynamic Facebook ads directly from the Shopify dashboard!


